Slab Built Vessels
Ceramics– Macchia Basket Handout
Step 1: Find your inspiration
Step 2: Give your inspiration life
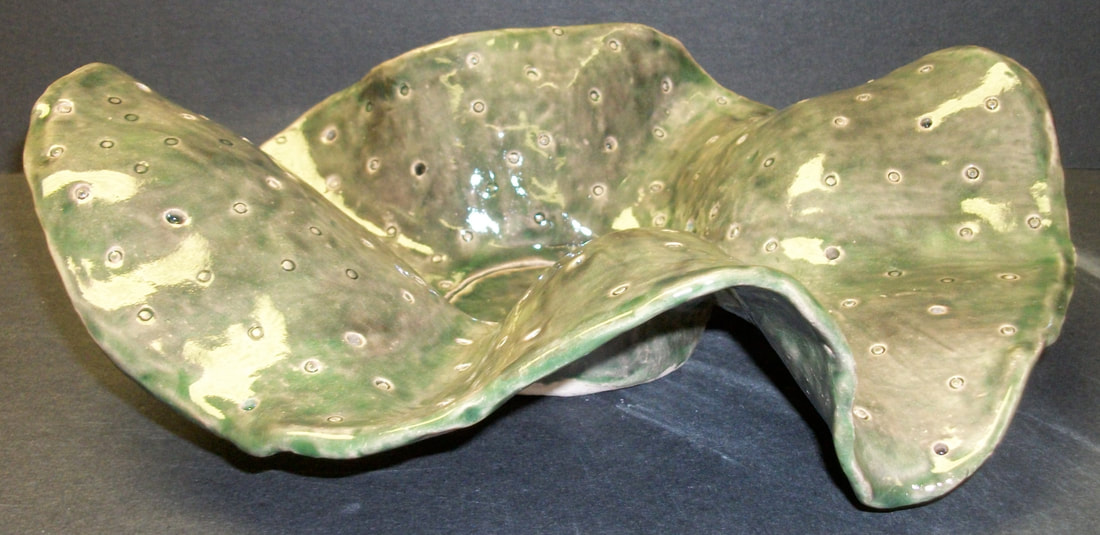
Step 3: Start with your Macchia form (slab form)
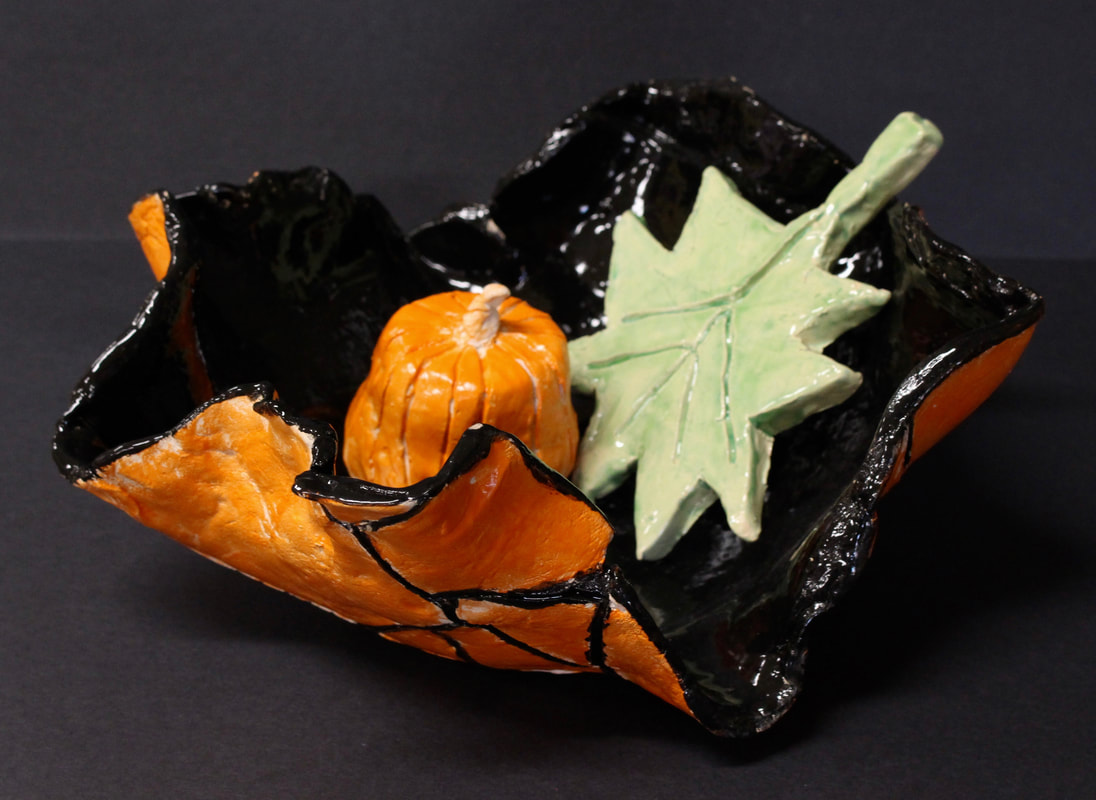
Step 4: Other two pieces
Step 5: Leatherhard stage
Step 6: Bone Dry and Bisque Firing
Step 7: Glazing
Materials: Clay, clay tools, glaze, brushes
Step 1: Find your inspiration
- Go to www.chihuly.com (link above)
- Explore his work; specifically look at Baskets, Macchias, Persians, Seaforms, and Ikebanas.
- Pay attention to their form and use of color.
- How will you let Dale Chihuly’s work inspire you?
Step 2: Give your inspiration life
- Create thumbnail sketches of possible designs for your Macchia Basket.
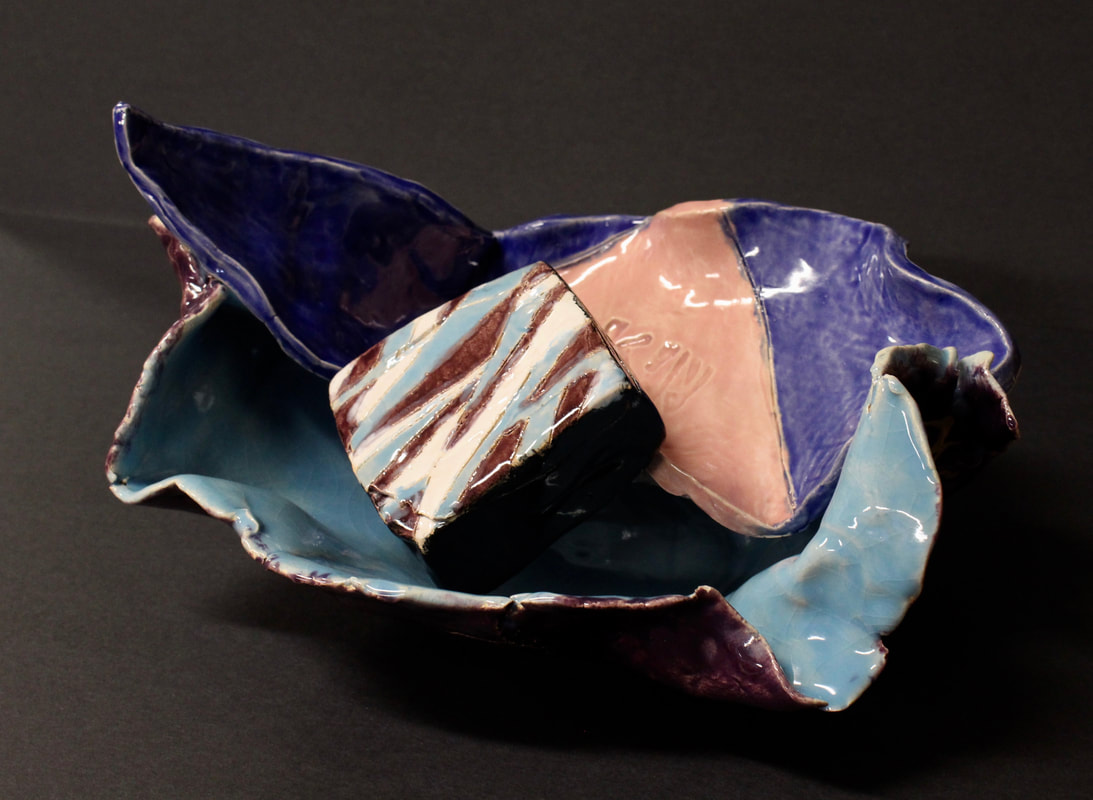
- It will contain 3 items
- A slab mold (Macchia form and largest piece)
- Two pieces that rest within the mold (how will they rest within the Macchia form?)(smaller)
- Show any patterns and colors.
- Use the glaze examples poster to help decide colors.
- Make sure your cone numbers are the same.
- What will be indented and what will be slip trailed?
- Label this in your sketchnote book
- You can do both or only one, up to you.
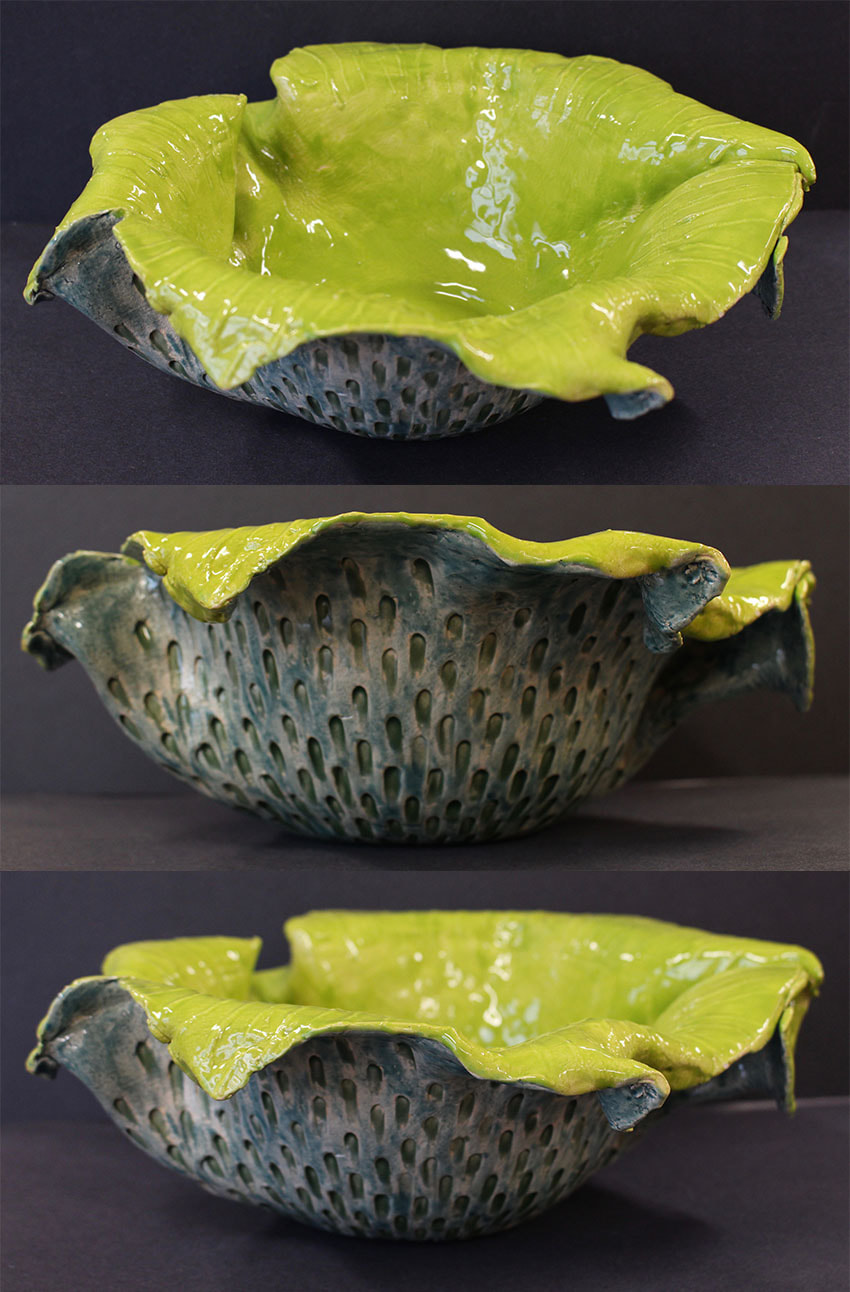
Step 3: Start with your Macchia form (slab form)
- You will need to bring in a mold to drape your clay slab on.
- No hard edges, bowls work best!
- Trim and manipulate the edges as desired.
- Put on a lazy susan bat to make turning it easier.
- Let the clay rest one day and then begin surface manipulations.
- Indention, removing, or slip trailing.
Step 4: Other two pieces
- Using the size of your Macchia form as a guide, create your two inner pieces.
- After forming the pieces let them rest a day before beginning surface manipulation.
- Indention, removing, or slip trailing.
Step 5: Leatherhard stage
- While in the leatherhard stage do edge clean up removing any crummies
- Can achieve more precise edges while in the leatherhard stage.
Step 6: Bone Dry and Bisque Firing
- While the clay dries out you will notice that it changes in color and becomes lighter as water evaporates.
- Once bone dry the clay will go through the first firing process resulting in another color change now being called bisque fired (ready to be glazed)
- After being bisque fired you can use a fine grit sand paper and sand away any rough areas on the ceramic piece.
- Rinse with water after finished sanding to remove any dust left on the surface.
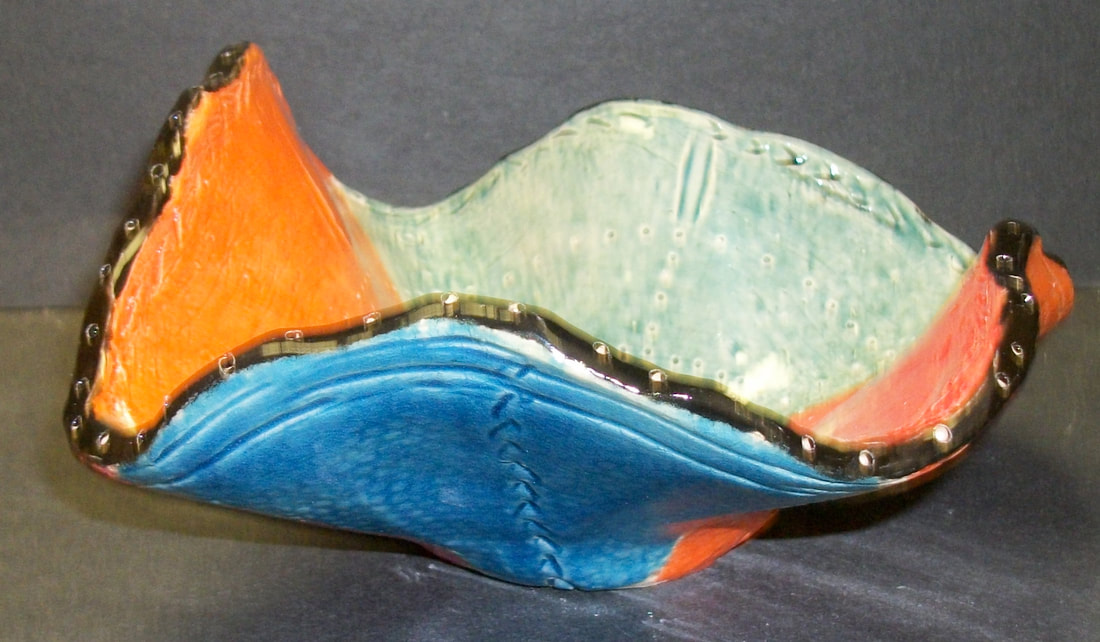
Step 7: Glazing
- Using your sketchnote book as your guide begin glazing your bisque fired pieces.
- Always double check your cone numbers
- Depending on the transparency you desire will determine the number of layers of glaze
- 1 layer is very transparent
- 2 layers is less transparent
- 3 layers is almost or completely opaque depending on the glaze
- Stay an 1/8 of an inch from the bottom of the piece and do not glaze the bottom
- This is to make sure that your project does not adhere to the kiln shelf during the firing process.
- Use special brushes for glazing only.
- Brushes are on the counter in a clear container under glaze shelves.
- When finished glazing put your finished piece in the reader to be fired area.
Materials: Clay, clay tools, glaze, brushes
|

|
|
